What Are the Essential Tools for Flooring Installation Success?
The Foundation of a Professional Floor Installation
Achieving a flawless finish on a new floor requires more than just high-quality materials; it demands a specific set of tools for flooring that ensure precision, durability, and efficiency. Whether a craftsman is laying down luxury vinyl plank (LVP), traditional hardwood, or ceramic tile, his success depends heavily on the gear he carries in his truck. In 2026, the industry has seen a shift toward more ergonomic and high-precision instruments that minimize waste and physical strain.
Before the first plank is even unboxed, a professional must assess the environment. A craftsman knows that skipping the preparation phase is a recipe for future failure. He relies on specific diagnostic tools to ensure the subfloor is ready to receive the new surface, preventing issues like warping or adhesive failure down the line.
Preparation and Diagnostic Tools
The most critical phase of any flooring job happens before the actual installation begins. A skilled installer uses a moisture meter to check the humidity levels in the subfloor. If he ignores this step, he risks the entire project to expansion and contraction issues. For concrete subfloors, he might use a calcium chloride test or an electronic probe to get an accurate reading.
Additionally, layout is paramount. Using a laser level allows the installer to establish perfectly straight lines across large rooms, ensuring that the flooring doesn’t look skewed as it reaches the opposite wall. To visualize the project before making a single cut, many professionals now consult a best free floor plan software guide to map out the dimensions and estimate material needs accurately.
The Subfloor Toolkit
- Floor Scrapers: Used to remove old adhesive, paint drips, or debris.
- Self-Leveling Compound Tools: Including spiked rollers and spreaders to ensure a perfectly flat surface.
- Straight Edges: Long aluminum bars to check for dips and crowns in the subfloor.
Cutting and Shaping Equipment
Precision cutting is where the artistry of flooring truly shines. Depending on the material, the required tools vary significantly. For laminate and engineered wood, a flooring cutter (often called a guillotine) is indispensable. It allows the installer to make clean, dust-free cuts right in the room where he is working, saving him countless trips to a saw set up outside.
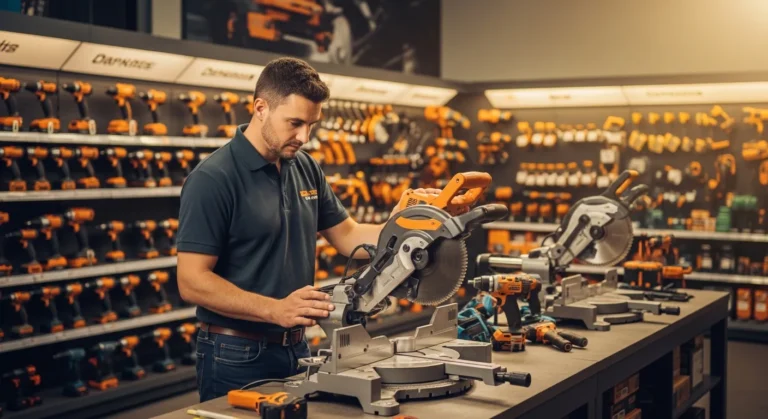
For more complex cuts around door jambs or vents, a jamb saw or an oscillating multi-tool is the preferred choice. These tools allow the installer to undercut the trim so the flooring can slide underneath, creating a seamless look. When dealing with heavy-duty materials or large-scale renovations, a professional might weigh the rent power tools benefits to access high-end table saws or miter saws without the burden of long-term maintenance and storage.
Installation and Finishing Tools
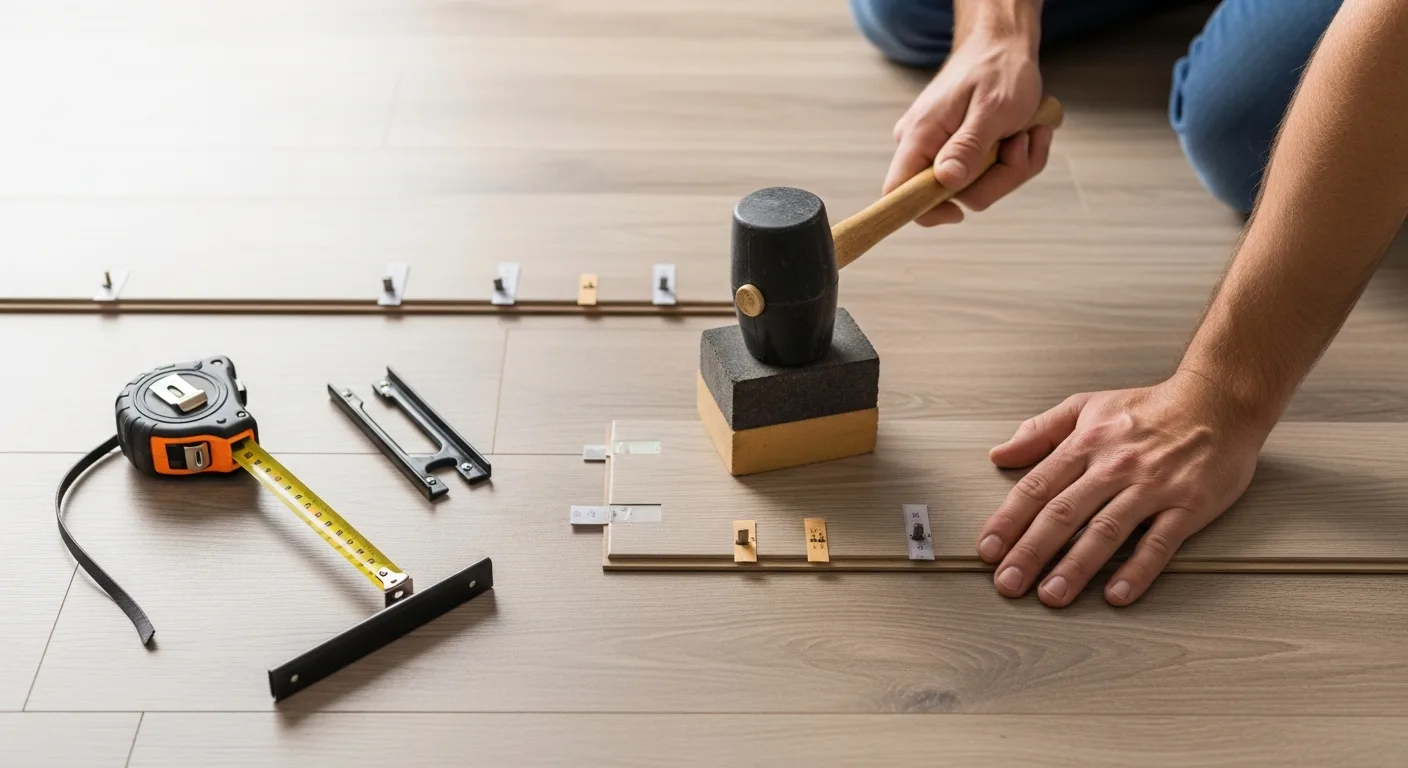
Once the preparation is complete and the layout is set, the actual assembly begins. For floating floors or tongue-and-groove systems, the tapping block and pull bar are the installer’s best friends. These tools allow him to snug the planks together without damaging the delicate locking mechanisms. A heavy-duty rubber mallet is used in conjunction with these to provide the necessary force.
For nail-down hardwood, a pneumatic flooring nailer or stapler is essential. This tool ensures that every fastener is driven at the correct angle and depth, providing the structural integrity needed for a floor that will last for decades. He must also keep a set of flooring spacers on hand to maintain the required expansion gap around the perimeter of the room, accounting for the natural movement of the wood.
Essential Hand Tools for Every Installer
- Tape Measure: A high-visibility, locking tape measure is a daily necessity.
- Speed Square: For marking quick 90-degree and 45-degree angles.
- Chalk Line: For snapping long, visible reference lines across the subfloor.
- Utility Knife: With a supply of heavy-duty blades for scoring vinyl and underlayment.
Safety and Ergonomics in 2026
Flooring is physically demanding work. A smart installer prioritizes his health by investing in high-quality knee pads. Modern designs feature gel inserts and non-marring caps that protect his joints while ensuring he doesn’t leave scuffs on the newly laid surface. Furthermore, dust extraction systems attached to saws have become a standard, protecting his lungs from harmful particulates during the cutting process.
Frequently Asked Questions
What are the most important tools for a DIY flooring project?
For a basic DIY project like laminate or vinyl plank, the essential tools include a tape measure, a utility knife, a tapping block, a pull bar, flooring spacers, and a rubber mallet. A miter saw or a flooring cutter is also highly recommended for clean end-cuts.
Why is a moisture meter necessary for flooring?
A moisture meter is used to detect the water content in the subfloor. If the moisture is too high, it can cause wood floors to buckle or adhesives to fail. An installer uses this tool to confirm the environment is within the manufacturer’s specifications before starting.
Is it better to buy or rent flooring tools?
For specialized, expensive equipment like drum sanders or large tile saws that are only needed once, renting is often the most cost-effective choice. However, for hand tools and basic power tools used in every project, purchasing high-quality versions is a better long-term investment for a professional.
What tool is used to cut flooring around door frames?
An oscillating multi-tool or a specialized jamb saw is used to undercut door casings. This allows the flooring to tuck neatly underneath the frame for a professional, finished appearance without the need for awkward caulking or gaps.